Are your sketch or light fill embroidery designs disappearing into the background of your garments—especially when working with stripes, patterns, or darker colors? If so, there’s a simple, game-changing trick that many embroidery pros are using: placing heat transfer vinyl (HTV) under your embroidery design.
This technique is a must-know for anyone who embroiders children’s apparel, boutique garments, or anything where the design needs to stand out loud and proud. Whether you’re stitching on pink stripes, navy knits, or heathered sweatshirts—HTV helps your design shine.

Why Use HTV Under Sketch or Light Fill Embroidery Designs?
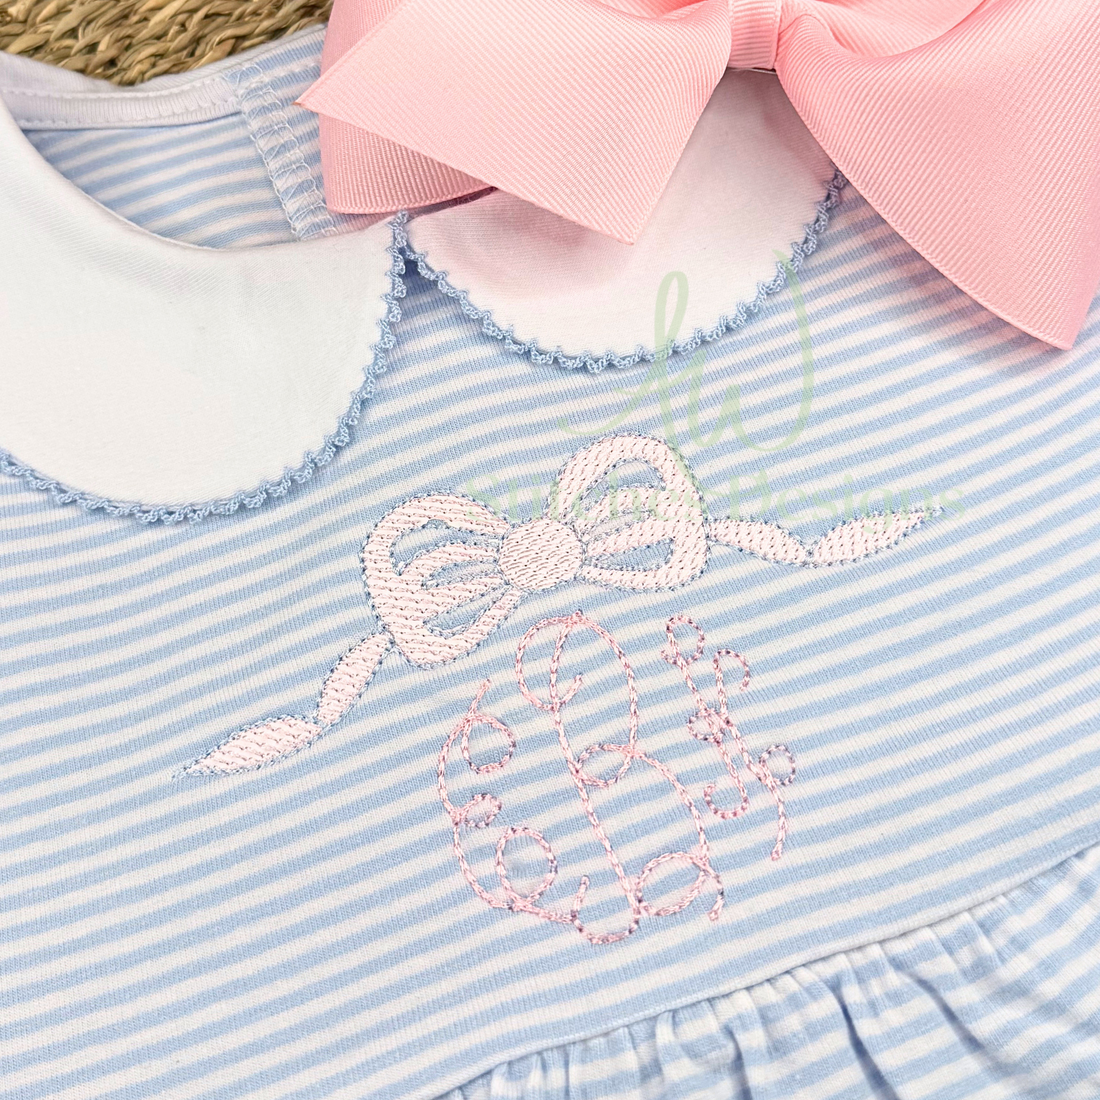
Sketch and light fill embroidery designs are beautiful because they use less thread, stitch faster, and give a soft, vintage look. But they come with a downside: they’re often too light to stand out on colorful or patterned fabrics.
That’s where HTV as a background layer comes in:
- Improves Visibility: HTV provides a solid, clean base to help light thread colors “pop.”
- Professional Finish: Adds polish and depth to boutique-style designs.
- Creative Flexibility: Use glitter, matte, flocked, or patterned HTV for custom looks.
- Quick to Apply: Just lay flat and embroider—easy to trim away the excess!
Materials You’ll Need
- Your embroidery design (sketch or light fill stitch)
- Garment (e.g., striped romper, sweatshirt, or cotton tee)
- HTV in a coordinating or contrasting color. I prefer Siser EasyWeed HTV.
- Scissors
- Heat press or iron
- Embroidery machine with hoop
- Embroidery stabilizer (we recommend a medium-weight tearaway or cutaway depending on your garment)
Step-by-Step: How to Use HTV Under Embroidery
1. Prepare Your Design
Choose a sketch fill or light fill stitch embroidery design. These styles are meant to have open, airy stitching—perfect for HTV to peek through.Shop AW Stitches Sketch or Light Fill Stitch Designs here!
2. Cut Your HTV
Cut a shape slightly larger than your embroidery design area. If you’re using a cutting machine, you can also match the exact shape of your design for an even more polished look. Remove the clear film from the HTV and discard.Pro Tip: Use glitter HTV for extra flair, or flocked HTV for a velvety finish under monograms.
3. Hoop and Stabilize
Hoop your garment and stabilizer as usual. Make sure the HTV is centered in your hoop where the embroidery design will go.
4. Lay the HTV shiny side down before stitching.
Lay the HTV on top of your garment before embroidering.
5. Embroider
Stitch your design directly over the HTV. The embroidery will grab beautifully over the smooth vinyl surface, and your design will stand out—even on the busiest fabric.
6. Trim away excess HTV.
Cut away excess HTV.
7. Iron
Be sure to use a pressing pillow or heat-safe barrier between your garment and the heat press or iron.
Final Thoughts: When and Why to Use This Technique
If you’re working with:
-
- Striped or busy prints (like pink/white or navy stripes)
- Dark garments where light stitches fade
- Low stitch-count designs like monograms or appliqué outlines
- Seasonal collections where you want colors to pop (e.g., Easter pastels or 4th of July reds and blues)
- Then this HTV trick is a must-try!
Happy Stitching!

P.S. I would LOVE to Hear from You!
Have you tried using HTV under your embroidery designs? What’s your favorite combo of fabric, HTV, and thread? Tag us on Instagram with your stitched creations—@AWStitchesDesigns—we’d love to share your work!